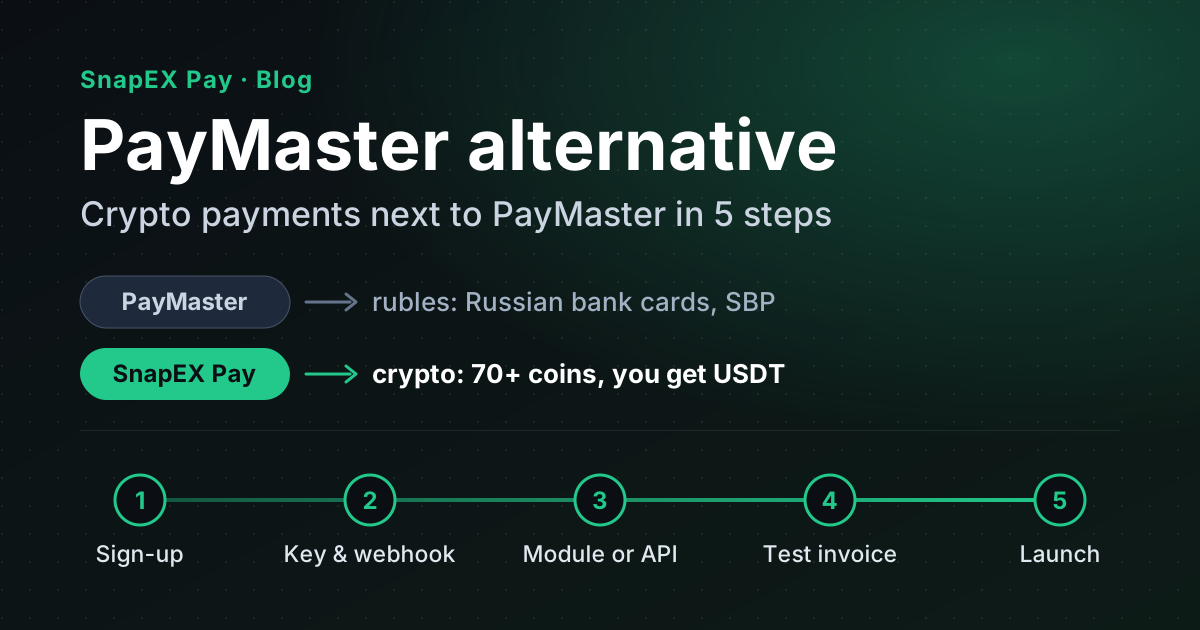
This guide is for merchants who already accept payments through PayMaster and want to give buyers one more way to pay: cryptocurrency. You do not need to replace PayMaster. SnapEX Pay sits next to it as a second payment method: rubles still go through PayMaster, crypto goes through SnapEX Pay.
Why you might need it: PayMaster does not accept foreign bank cards. A buyer without a Russian card can pay in crypto instead — SnapEX Pay supports 70+ coins, and the merchant receives everything in USDT.
What connecting looks like with each service
From application to the first payment
- Applicationform on the website, email with a link
- Documentsincorporation papers, tax ID (INN), bank details
- Contractsign it and send the scans
- Setupwidget, API or CMS module
- Launchtesting and live mode
- Sign-upmerchant account
- Key and webhookAPI key and notification URL
- Module or API15 ready-made modules
- Test invoiceconfirms itself in ~10 s
- Launchlive invoices
Below are the five SnapEX Pay steps in detail.
Step 1. Create a merchant account
Sign up at pay.snapex.pro. No documents, contract or company check: SnapEX Pay requires no KYC from merchants or from their buyers. If you already have an account on the snapex.pro exchange, log in with the same username — it is one account.
Before connecting, make sure your business is not in a prohibited category: weapons, drugs, fraud, malware and hacking services, stolen data and cards, fake documents and the others listed in the service rules.
Step 2. Create an API key and set the webhook URL
In the merchant dashboard, create an API key and enter the URL that should receive payment notifications. The dashboard shows a secret for verifying signatures.
- Every notification is signed with HMAC-SHA256 and carries a timestamp.
- If your server does not respond, SnapEX Pay retries the delivery — up to 5 attempts in total.
PayMaster works in a similar way: payment status notifications and a key for API requests. If you connected PayMaster through its API, the logic will feel familiar.
Step 3. Install a module or connect the API
If your site runs on one of the platforms below, a module is enough: install it, paste the API key, turn on test mode.
- Hosting billing: WHMCS, BILLmanager, Blesta, WISECP, FOSSBilling, Paymenter, RootPanel.
- Online stores: WooCommerce, CS‑Cart.
- VPN panels and bots: Xboard, Marzban, 3X‑UI, Remnawave, Telegram VPN bot.
- Automation: n8n.
WHMCS, CS‑Cart, WooCommerce and RootPanel are also on PayMaster's module list — on these platforms both payment methods sit side by side in the same checkout.
If your platform is not listed, connect through the REST API: one request creates an invoice and returns a link to the payment page. See the API documentation.
Step 4. Test everything on a test invoice
Create an invoice with environment=test using the same API key — there are no separate test keys. Once a coin is chosen, the test invoice confirms itself in about 10 seconds. No real money moves and your balance does not change, but you see the whole flow: payment page → webhook → order marked as paid.
Step 5. Switch to live mode and set up withdrawals
Remove the test flag and invoices become real. What to know about live payments:
- Invoice amount — from $0.50 to $100,000. USDT on TRC20, ERC20 and BEP20 — any amount; other coins — on invoices from $8 (BTC, ETH, LTC and TRX — from smaller amounts when the network fee allows).
- Invoice lifetime — 30 minutes by default; you can set anything from 1 minute to 24 hours.
- Who pays the fee. The 1% fee and the network fee are either deducted from the amount or added on top for the buyer. Set it in the module or per invoice through the API.
- Underpayment. The invoice is not marked as paid, and the same address waits for the rest. If the rest never comes, the invoice closes as partially paid: the amount received is credited to your balance, and the decision on the order is yours.
- Withdrawal. Funds arrive on your balance in USDT. Withdraw from the dashboard to a crypto address, with no hold; there is no service fee for withdrawals, only the network fee. The minimum depends on the coin — from $0.50 to $10.
Pre-launch checklist
Before you show crypto checkout to buyers
- Your business is not in a SnapEX Pay prohibited category.
- API key created, webhook URL set, signing secret stored on the server.
- Module installed, or the create-invoice request works through the API.
- Test invoice with
environment=testwent through: the order was marked as paid exactly once. - Fee: decided who pays the 1% and the network fee — you or the buyer.
- Invoice lifetime fits your flow (30 minutes by default).
- USDT withdrawal address is ready, and you know the withdrawal minimum for your coin.
- PayMaster stays in the list of payment methods — for buyers who pay in rubles.
What stays with PayMaster
SnapEX Pay does not replace ruble payment methods. Russian bank cards, SBP (Russia's Faster Payments System, from 0.4%), SberPay, T‑Pay, AlfaPay, installments and automatic fiscal receipts under Russian law 54‑FZ stay with PayMaster. SnapEX Pay does not issue fiscal receipts, and crypto acceptance rules differ from country to country — check with your lawyer how they apply to your business.