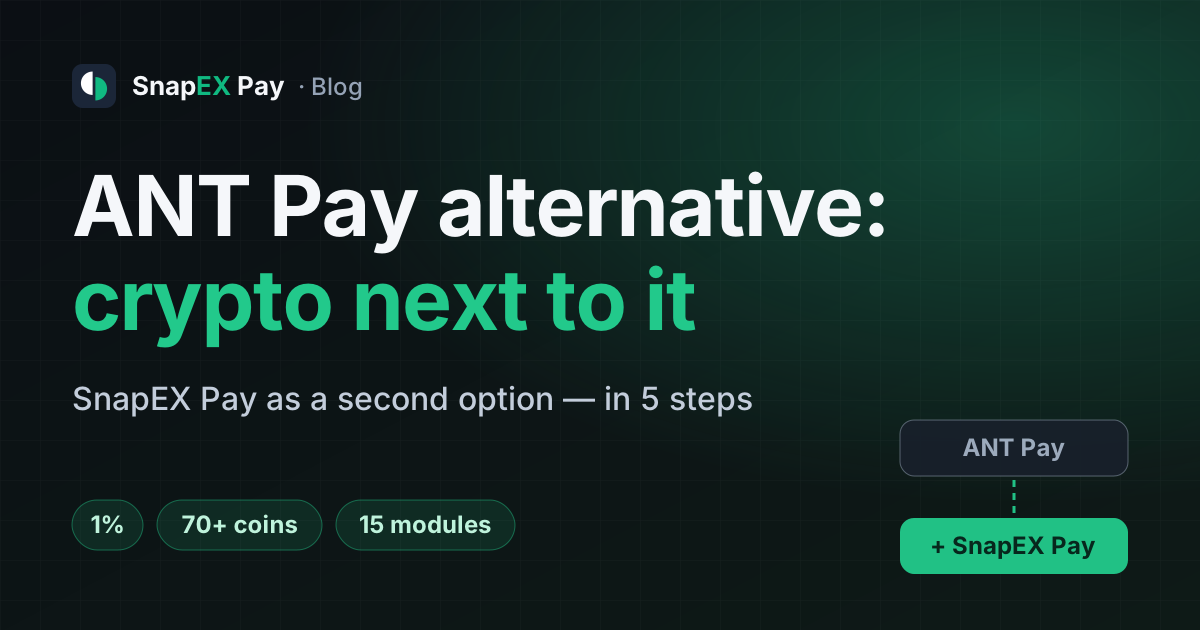
This guide is for merchants who take payments through ANT Pay, or are about to apply there, and want a separate, quick way to accept crypto. You don't have to drop ANT Pay: SBP (Russia's Faster Payments System) and cards stay there, and SnapEX Pay takes the crypto. The customer picks whatever is easier.
Why a second option. ANT Pay onboards through an application: the form on its site asks for monthly turnover, name, phone and a link to your site, then a manager gets in touch and the project goes through moderation. ANT Pay does not publish its rates on the site — terms come after you apply. With SnapEX Pay you open the account yourself and know the fee up front: 1% per payment.
- 1%SnapEX Pay fee per payment — taken from the amount or added on top for the customer
- 70+coins on the payment page, USDT on 16 networks
- 15ready modules for billing systems, shops and VPN panels
- 0%service fee on withdrawals, network fee only
ANT Pay and SnapEX Pay: the road to the first payment
From the first step to the first payment
- Applicationturnover, name, phone, site
- Moderationno company registration needed
- IntegrationAPI or dashboard
- Test modepayments with no risk
- Productionpayments and payouts
- Sign-upmerchant account
- Key and webhookAPI key and notification URL
- Module or API15 ready modules
- Test invoiceconfirms itself in ~10 s
- Go livereal invoices, settled in USDT
Step 1. Create a merchant account
Sign up at pay.snapex.pro. No application, no call from a manager, no documents: SnapEX Pay requires no KYC from merchants or their customers, and there is no country blocklist. An account on the snapex.pro exchange works too — it is the same account.
Check that your business is not in a prohibited category: weapons, drugs, fraud, malware and hacking services, stolen data and cards, forged documents and the others in the service rules.
Step 2. Create an API key and set the webhook URL
In the merchant dashboard, create an API key and set the URL for payment notifications. The dashboard shows the secret for checking signatures.
- Every notification is signed with HMAC-SHA256 and a timestamp.
- If your server does not answer, SnapEX Pay retries — up to 5 attempts in total.
- The dashboard keeps a log of recent deliveries, and any of them can be resent.
Step 3. Install a module or connect the API
ANT Pay connects through its API or dashboard. SnapEX Pay already has modules for popular platforms: install, paste the key, turn on test mode.
- Hosting billing: WHMCS, BILLmanager, Blesta, WISECP, FOSSBilling, Paymenter, RootPanel.
- Shops: WooCommerce, CS‑Cart.
- VPN panels and bots: Xboard, Marzban, 3X‑UI, Remnawave, Telegram VPN bot.
- Automation: n8n.
VPN services, digital goods and AI services are among the niches ANT Pay works with; for VPN, SnapEX Pay has separate modules for the panels. If your platform is not on the list, use the REST API: one request creates an invoice and returns a link to the payment page. See the API documentation.
This is what a crypto payment through SnapEX Pay looks like:
Payment path
Step 4. Check everything on a test invoice
Both services have a test mode. In SnapEX Pay, create an invoice with environment=test using the same API key — there are no separate test keys. Once a coin is chosen, the invoice confirms itself in about 10 seconds. No real money moves, and you see the whole path: payment page → webhook → order paid.
Step 5. Go live and set up withdrawals
Remove the test flag and invoices become real.
- Invoice amount — from $0.50 to $100,000. Lifetime — 30 minutes by default, from 1 minute to 24 hours.
- Fee — 1%: taken from the amount or added on top for the customer.
- Underpayment — the invoice waits for the rest on the same address; otherwise it closes as partially paid and the amount received is credited.
- Withdrawal — the balance is in USDT; withdraw from the dashboard to a crypto address with no hold, confirmed with your password. No service fee for withdrawals, only the network fee.
- Payouts to customers — through the API from your USDT balance to a crypto address. Payouts to cards and via SBP stay with ANT Pay.
ANT Pay and SnapEX Pay at a glance
Pre-launch checklist
Before you show crypto checkout to customers
- Your business is not in a SnapEX Pay prohibited category.
- API key created, webhook URL set, signing secret stored on the server.
- Module installed, or the create-invoice request works through the API.
- Test invoice with
environment=testwent through: the order was marked paid exactly once. - Fee: decided who pays the 1% and the network fee — you or the customer.
- Invoice lifetime fits your flow (30 minutes by default).
- USDT withdrawal address is ready.
- ANT Pay stays in the list of payment methods — for customers who pay via SBP or by card.
What stays with ANT Pay
ANT Pay has its own strength — rubles and cards. QR payments via SBP, bank cards, recurring charges for subscriptions, mass payouts to cards and via SBP, one dashboard for several projects, a separate Pay Auth app to confirm withdrawals — all of that stays there. SnapEX Pay sits next to it for crypto: sign-up without an application, 1% per payment, 70+ coins and ready modules. Rules on accepting crypto differ by country — check with a lawyer how they apply to your business.